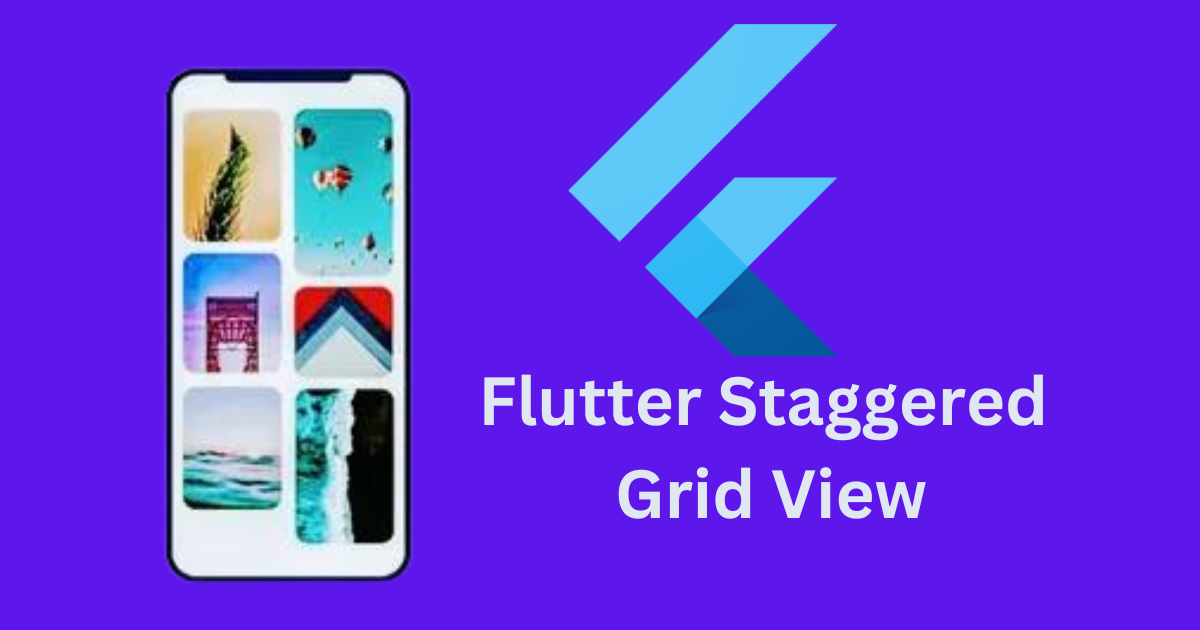
Flutter Staggered Grid View
This style, called Flutter Staggered Grid View, is used to show photos and blog posts. As you can see on many social networks, like Pinterest and many more.
One of the best things about Staggered Grid View is that it makes the plan look great and improves the user experience. Staggered Grid View has units of different sizes that are spread out in Rows and Columns. Which shows pictures and posts of different sizes.
What is Flutter Staggered Grid View?
We are going to learn how to add a Flutter Staggered Grid View to our Flutter app in this post. Follow the steps below to make this.
- Make the change to the pubspec.yaml file.
Example
dependencies:
flutter_staggered_grid_view: ^0.3.2
- Add the dependencies to the main.dart file.
Example
import ‘package:flutter_staggered_grid_view/flutter_staggered_grid_view.dart’;
Let’s now look at how the Flutter Staggered Grid View is put together. The steps to do that are listed below. You need to add the dependency to your pubspec.yaml file in the lib folder before you can use Staggered Grid View in your project. Now click on pub.get and wait for it to be set up. Here’s the main.dart() file with the Material App.
Put together MyApp() in StatelessWidget first, and then call MaterialApp() from it. Now, in MaterialApp(), give the app a name and set debugShowCheckModeBanner to false. This will get rid of the debug banner in the app. Now set the theme to “dark,” and then show the home screen on the first screen: Home Page
Example
void main() {

runApp(MyApp());

}

class MyApp extends StatelessWidget {

// This widget is the root of your application.

@override

Widget build(BuildContext context) {

return MaterialApp(

debugShowCheckedModeBanner: false,

//Title of an App

title: 'GFG APP',

//Theme of an App

theme: ThemeData(

primarySwatch: Colors.green,

),

darkTheme: ThemeData.dark(),

// First Screen of App

home: HomePage(),

);

}

}
Now Bring in the Flutter Staggered Grid View requirements in HomePage(). After importing the dependencies, make an app bar inside the scaffold. Now, in the body, make a new Container(). Now, add the Staggered Grid View to that container, as shown in the code below. To the right of the Staggered Grid view is staggeredTiles. So, we’ve set up a List of 10 _cardTiles that tell you what size cards to use.
After that, we made a class in StatelessWidget called BackGroundTile. In this case, we set the end variables background Color and icon data. For these values, we made a constructor. And sent back Card, which has background Color and icon data. We set children to _listTile in the Staggered Grid View. So, we made a List with traits that come from the class BackGroundTile. Which are made up of icon data and background Color.
Example:
import 'package:flutter/material.dart';

import 'package:flutter_staggered_grid_view/flutter_staggered_grid_view.dart';

//List of Cards with size

List<StaggeredTile> _cardTile = <StaggeredTile> [

StaggeredTile.count(2, 3),

StaggeredTile.count(2, 2),

StaggeredTile.count(2, 3),

StaggeredTile.count(2, 2),

StaggeredTile.count(2, 3),

StaggeredTile.count(2, 2),

StaggeredTile.count(2, 3),

StaggeredTile.count(2, 2),

StaggeredTile.count(2, 3),

StaggeredTile.count(2, 2),

];

//List of Cards with color and icon

List<Widget>_listTile = <Widget>[

BackGroundTile(backgroundColor: Colors.red, icondata: Icons.home),

BackGroundTile(backgroundColor: Colors.orange, icondata: Icons.ac_unit),

BackGroundTile(backgroundColor: Colors.pink, icondata: Icons.landscape),

BackGroundTile(backgroundColor: Colors.green, icondata: Icons.portrait),

BackGroundTile(backgroundColor: Colors.deepPurpleAccent, icondata: Icons.music_note),

BackGroundTile(backgroundColor: Colors.blue, icondata: Icons.access_alarms),

BackGroundTile(backgroundColor: Colors.indigo, icondata: Icons.satellite_outlined),

BackGroundTile(backgroundColor: Colors.cyan, icondata: Icons.search_sharp),

BackGroundTile(backgroundColor: Colors.yellowAccent, icondata: Icons.adjust_rounded),

BackGroundTile(backgroundColor: Colors.deepOrange, icondata: Icons.attach_money),

];

class HomePage extends StatelessWidget {

@override

Widget build(BuildContext context) {

return Scaffold(

appBar: AppBar(

title: Text("GFG App"),

),

body: Container(

// Staggered Grid View starts here

child: StaggeredGridView.count(

crossAxisCount: 4,

staggeredTiles: _cardTile,

children: _listTile,

mainAxisSpacing: 4.0,

crossAxisSpacing: 4.0,

),

),

);

}

}
class BackGroundTile extends StatelessWidget {

final Color backgroundColor;

final IconData icondata;

BackGroundTile({this.backgroundColor, this.icondata});

@override

Widget build(BuildContext context) {

return Card(

color: backgroundColor,

child: Icon(icondata, color: Colors.white),

);

}

}
Features of Flutter Staggered Grid View
Here are some things that theFlutter Staggered Grid View can do:
- Different Layouts: With StaggeredGridView, you can make a grid where each item can be a different size. This is especially helpful for showing things like blog posts, pictures, or cards that are different heights.
- Tile sizes that can be changed: The Staggered Tile class lets you change the size of each tile in the grid. Tiles can cover more than one row or column, which makes the structure very flexible.
- Scrolling quickly: Staggered Grid View is designed to make scrolling as smooth as possible, even when there are a lot of things and the layout is complicated. This makes sure that mobile users have a good time.
- Handling of dynamic content: It’s great when the content sizes aren’t all the same or when it’s loaded automatically from a server because the grid layout changes based on the content.
- Ability to Change Spacing: Using properties like main Axis Spacing and cross Axis Spacing, you can quickly change how far apart items are in the grid. This gives you full control over the layout.
- Controlling the cross-axis count: You can change the cross-axis count, which tells the grid how many columns it should have. This lets you make simple or complicated layouts based on the size and orientation of the screen.
- Help with Masonry Layouts: With Flutter Staggered Grid View, you can make layouts that look like brick walls, where things are stacked as close together as possible and gaps are filled as they appear.
- Integration of Rich Widgets: Any Flutter widget can be a child of a Flutter Staggered Grid View tile. This lets you add pictures, text, buttons, icons, and more to the tile.
- Layouts that change: ince the grid can change sizes and angles of screens, it’s a good choice for flat designs. Based on the size of the screen, you can change the number of columns or the tiles’ size.
- Simple: The StaggeredGridView package has a simple API that makes it simple to create complicated grid layouts with little code social media facebook.
Conclusion
The Flutter Staggered Grid View is a powerful and flexible way to make visually dynamic grid layouts. This makes it perfect for apps that need to show content of different sizes, like posts, cards, or pictures. If you follow the steps in this guide, adding a Staggered Grid View to your Flutter app will be very easy.